Haunted House Laboratory Show
SOON WILL UPDATE WITH MORE PERFORMERS.....HECTIC TIMES!!!!!!

Between The Streets
Treelapse
How to fabricate branches - Molds
The Trees for the “Secret Alley/Heart of the City” have to be pretty durable/positionable.
This is an example of one of the many steps to creating a tree.
The Molds-
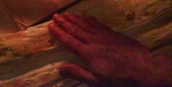
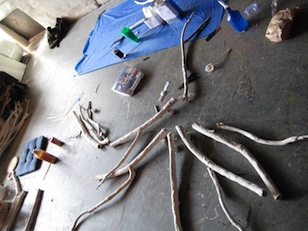
Choose the branch (subject-Ficus tree branch, common street tree in SF; the grey brown planted trees)
Clean branch from leaf sprees (twigs), so you have your base branch to cast.
Cut branch into cast size segments (varies to type of branch).
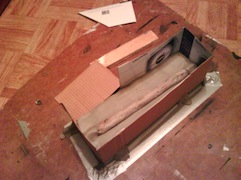
Embed more than half of branch (so you don’t have a massive undercut) in clay. Any divots that may make it a problem to take branch out of the mold, fill with just enough clay. Best to make sure there is at least an inch and a half gap around your branch to the walls.

Using cardboard, duct tape, make a sweet tightacle sealed wall. Use a smooth board as a base. I used a the slick side of a masonite scrap. (If the cardboard is weak or too floppy it may absorb the water from the plaster/duracal/ultracal and break, bend, rip and ruin everything. I used the slick side of a box for the inside of the walls, less chance to absorb water... making wood walls is best, just pricier and more time consuming. I used clay pieces to push the walls in tightly.
To note I really duct taped the seams of the cardboard, both sides, a leak in your walls can really ruin your groove.
Molding tails and heads for the pouring access
Don’t forget to make keys, something symetrical you can embed into the clay, marbles is a common idea.
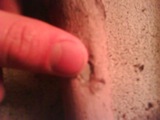
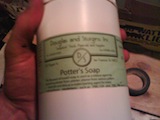
Putting a thin watered down film of “potter’s soap” on the branch for an easier, more successful release. Apply thin, so that you don’t mess up the detail of the branch being molded.
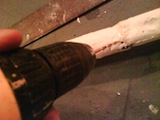
We used “Ultracal” to make the mold of the branch, which I believe is a gypsum-based plaster. Mixing it to a consistency of egg nog, light paint. Make sure when mixing plaster type materials always add powder to water so that you are not too rushed when mixing, achieving a cleaner mix, and can control the consistency.
Since using cardboard I reenforced the top with strips of duct tape, so that the cardboard doesn’t bell out.
 While that shit dries take a hot tub, grab/eat a burrito. Depending on the consistency of your plaster you may have to wait a while to make your other two molds.
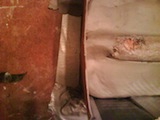
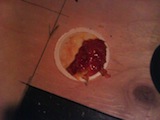
Make sure that you do not remove the branch from any side of the mold till all sides of the branch are fully cast. Unlike the photo below.
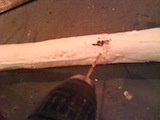
Apply a thin layer of Potter’s Soap to the first part of the dry mold and branch.
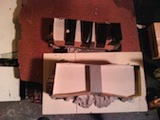
Construct cardboard/wood walls for the second pour.
(Once again I suggest using wood for walls; wood is reusable, less messy, less risky. If you do use wood, make sure to apply a film of potters soap to the inside of the box.)
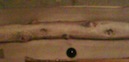
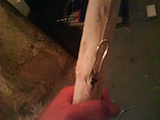
Your final molds will be one 1/2 branch and two 1/4 branches.
You end up with something that looks like this:
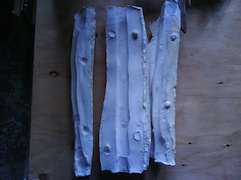
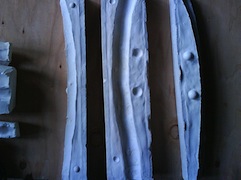
This next mold is with wood walls (Created by Cody):
Strap the mold together with duct tape or bungee cords.
Use duct tape and/or a plug to prevent your casting material from running out the bottom of the mold.
Fill up the mold with “Flexible Slip”, a plaster latex compound.
Your goal is to just coat the inside of your mold with your material. Turn the mold over and dump out most of the “Flexible Slip”, allowing a film of material to stay in the mold and dry.
Depending on the consistency of the “Flexible Slip”, it will dertermine how many times you fill and empty the mold.
Try not to let the “Flexible Slip” sit too long or too little in the mold.
Too little, your branch will rip.
Too long makes the mold difficult to take apart, you may end up ruining you mold, cracking it, what have you.
We waited to pull the casts when dry to the touch or a little drier then dry to the touch.
When you get your style down, you can easily produce branches over and over.
We made six sets of molds, two of a large branch and four of a smaller one. Our sets allowed us to variate the structure of each branch.
Now on to the next step: Assembling the pieces!
How to fabricate branches - Assembling
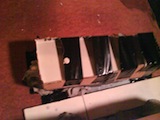
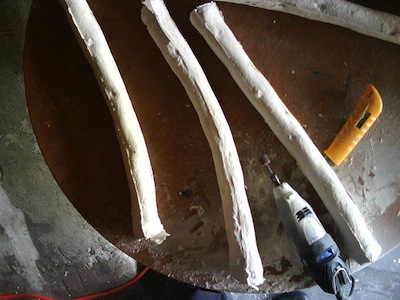
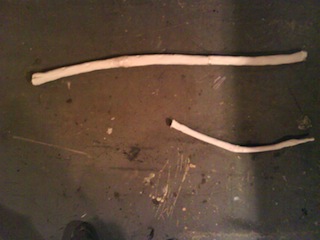
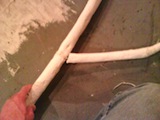
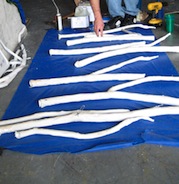
This is what the branch pieces looked like out of the mold. We made sure to cast a narrow tip so that we could have a completish branch.
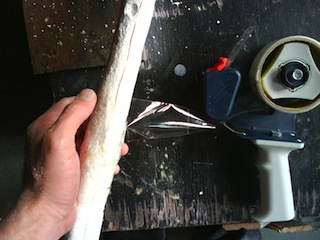
With a box cutter knife and a dremel, we’d wait for them to completely dry to clean up the seams. Could be done mostly with box cutter knife while the branch is still wet, but there is risk in cutting into your branch easier. Because of the reckless way I used the box cutter I made sure to wear a thick ass leather work glove on the hand that gripped the branch....
I’ve cut myself way too many times... or enough times to learn.

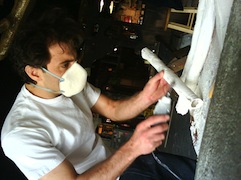

It is smart to wear a mask when grinding this shit with a dremel, the dust is intense.
Figuring where a branch will go, and what it will look like is priority.
Then dremeling the inside and outside ends of each piece so that they fit into each other, telescoping together. When you’re dremeling the inside of the branch, be sure to grind it down nice and thin so that it is easier to hide the seam.
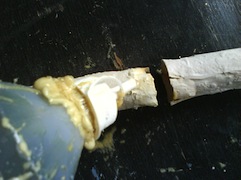
When glueing the branch pieces together, use a glue that does not have a solvent, so that it doesn’t deteriorate the flexible slip.
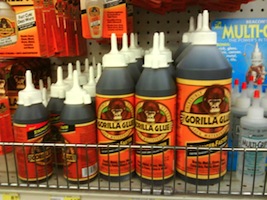
Gorilla glue doesn’t have a solvent in it. So that’s good.
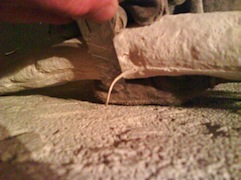
As you can see on this next pic that the seams ripped a little while trying to fit one piece into the other. This can be problematic later down the line. It’s good to reenforce splits with gorilla glue and coats of flexible slip.
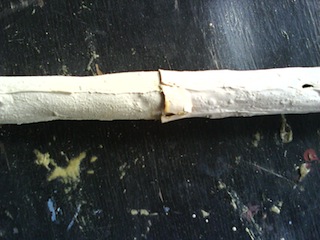
Using some sort of wide tape that’s not too strong, wrap the ends together, tightly.
Then you let the assembled pieces dry, allowing the glue to fully set for 24 hours.
Next: Assembling the Assembled!
How to fabricate branches - Assembling the Assembled
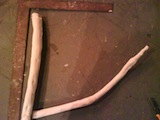
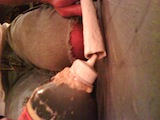
About a day later, when the gorilla glue has dried, the branch pieces are ready to assemble together.
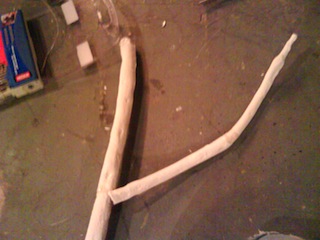
Here we have one 3-piece large branch and a 2-piece small branch:
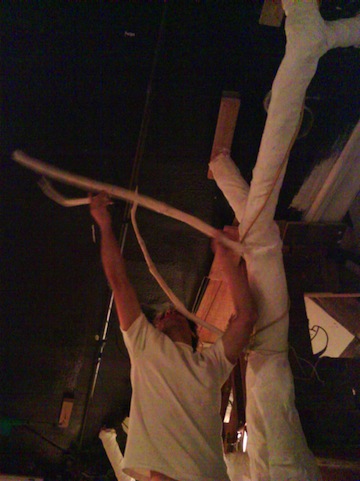
Here I am figuring out exactly where the smaller piece will go:
Once again, just kind of plan where you want to set the branches on the trunk base. This will help make the attaching them later much easier.
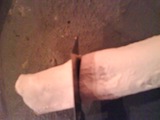
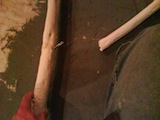
Mark position and angle with a sharpie. Cut the smaller branch accordingly.
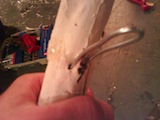
Drill two holes 3/4” apart.
Take a ceiling tie and bend into a ‘u’.

Insert ends of ‘u’ into branch, about 4” deep, 4” protruding out.
Cut a piece of pvc (plastic pipe) at the same angle that you cut the small branch.
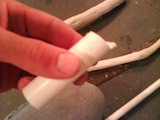
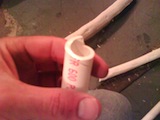
The pipe must be small enough to fit in the small branch and over the 'u'.
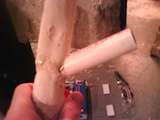
Then use some Gorilla Glue to attach the piece to the inside of the branch.
Let that set before filling them with foam and finally gluing the pieces together.

Next on the agenda: Filling with foam!
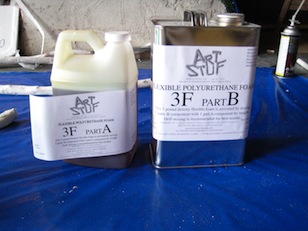
How to fabricate branches - Filling with foam
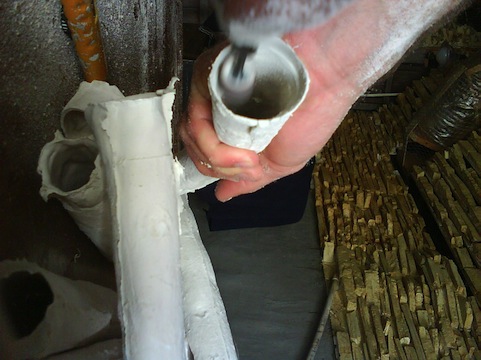
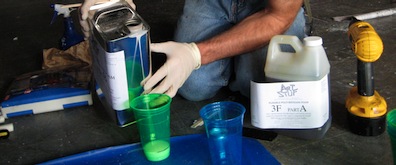
Foaming. We used a 3-pound density foam we got from Douglas and Sturgess. The (Nerf-ish) foam is used as a filler to give the branches more body and a bounce-back rigidity. It is a two-part goo that when mixed together (2:1 ratio) chemically react, expanding then hardening.
The foam sticks to anything slightly porous that's why it's such a good combo for the flexible slip.
Using pre marked plastic cups seems to be the best receptacle to mix/measure the stuff, stiring with a disposable chopstick. Be sure to pour part 'A' into part 'B'. Part 'A' is thinner so you can get to stirring quicker, making a longer working time. You kinda have to experiment with the amount needed, a little goes a good way.
Always use proper safety equipment (gloves, goggles, guns, magic, masks) to make sure you don’t knock yourself out or end up sticking to something unpleasant.
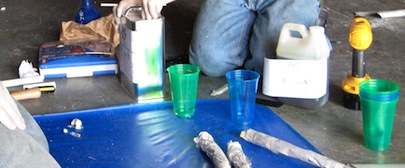
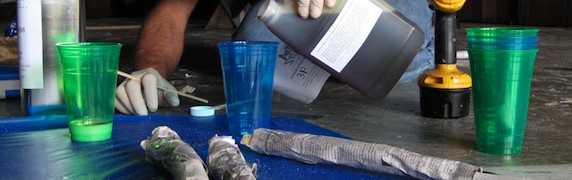
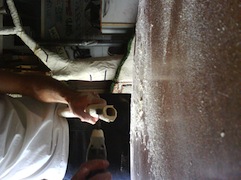
It is a good idea to mask the branches, so that you don't have to clean the spill over off the exterior of the branch. Tape and newspaper is cheap.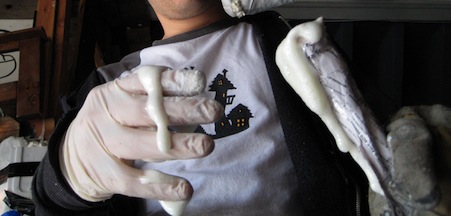
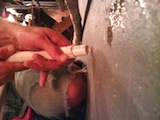
Once the foam compound is poured into the hollow branches, we waited for the foam to rise then plugged the open end. Your thumb (when in gloves) works best. This forces the foam to expand into all the crevasses of the branches. A little pressure will build up, so it is good to release the plug from time to time. You don’t want the foam to split the seams of the branches.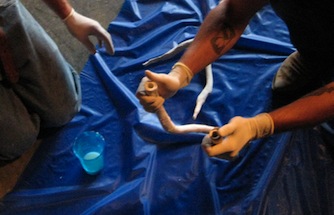
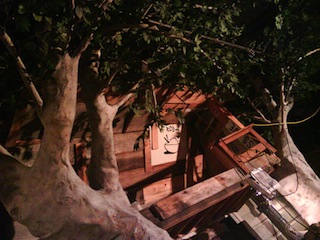
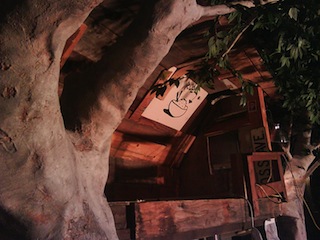
After this, you mount the foam-filled branches to the tree structure (which you have built prior to making branches). You start working out your details with paint (brushes, airbrush, or rag). Coat it with a flexible polyurethane to seal the paint and prevent it from rubbing off. Eventually this is the result:
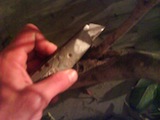
Real tree: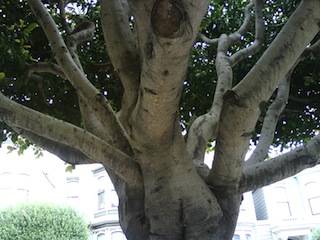
Fake trees: